
If you’ve ever painted a room yourself you’ve likely had an “oops” moment or two. If you’re lucky, it was only a few splatters on a window sill that wiped up easily. Or maybe it was something more dramatic like bumping into a paint can triggering a big spill on your carpet. Your project came to a screeching halt as you scrambled to grab (and ruin) every towel in your home to blot it up. Or maybe your “we should have hired a painter” moment came when you completed your DIY project. When you finally took a step back to admire your handiwork you instead saw unsightly drips, streaks, and uneven patches on your walls. Never fear, we’ll show you how to fix a bad paint job–and how to avoid one.
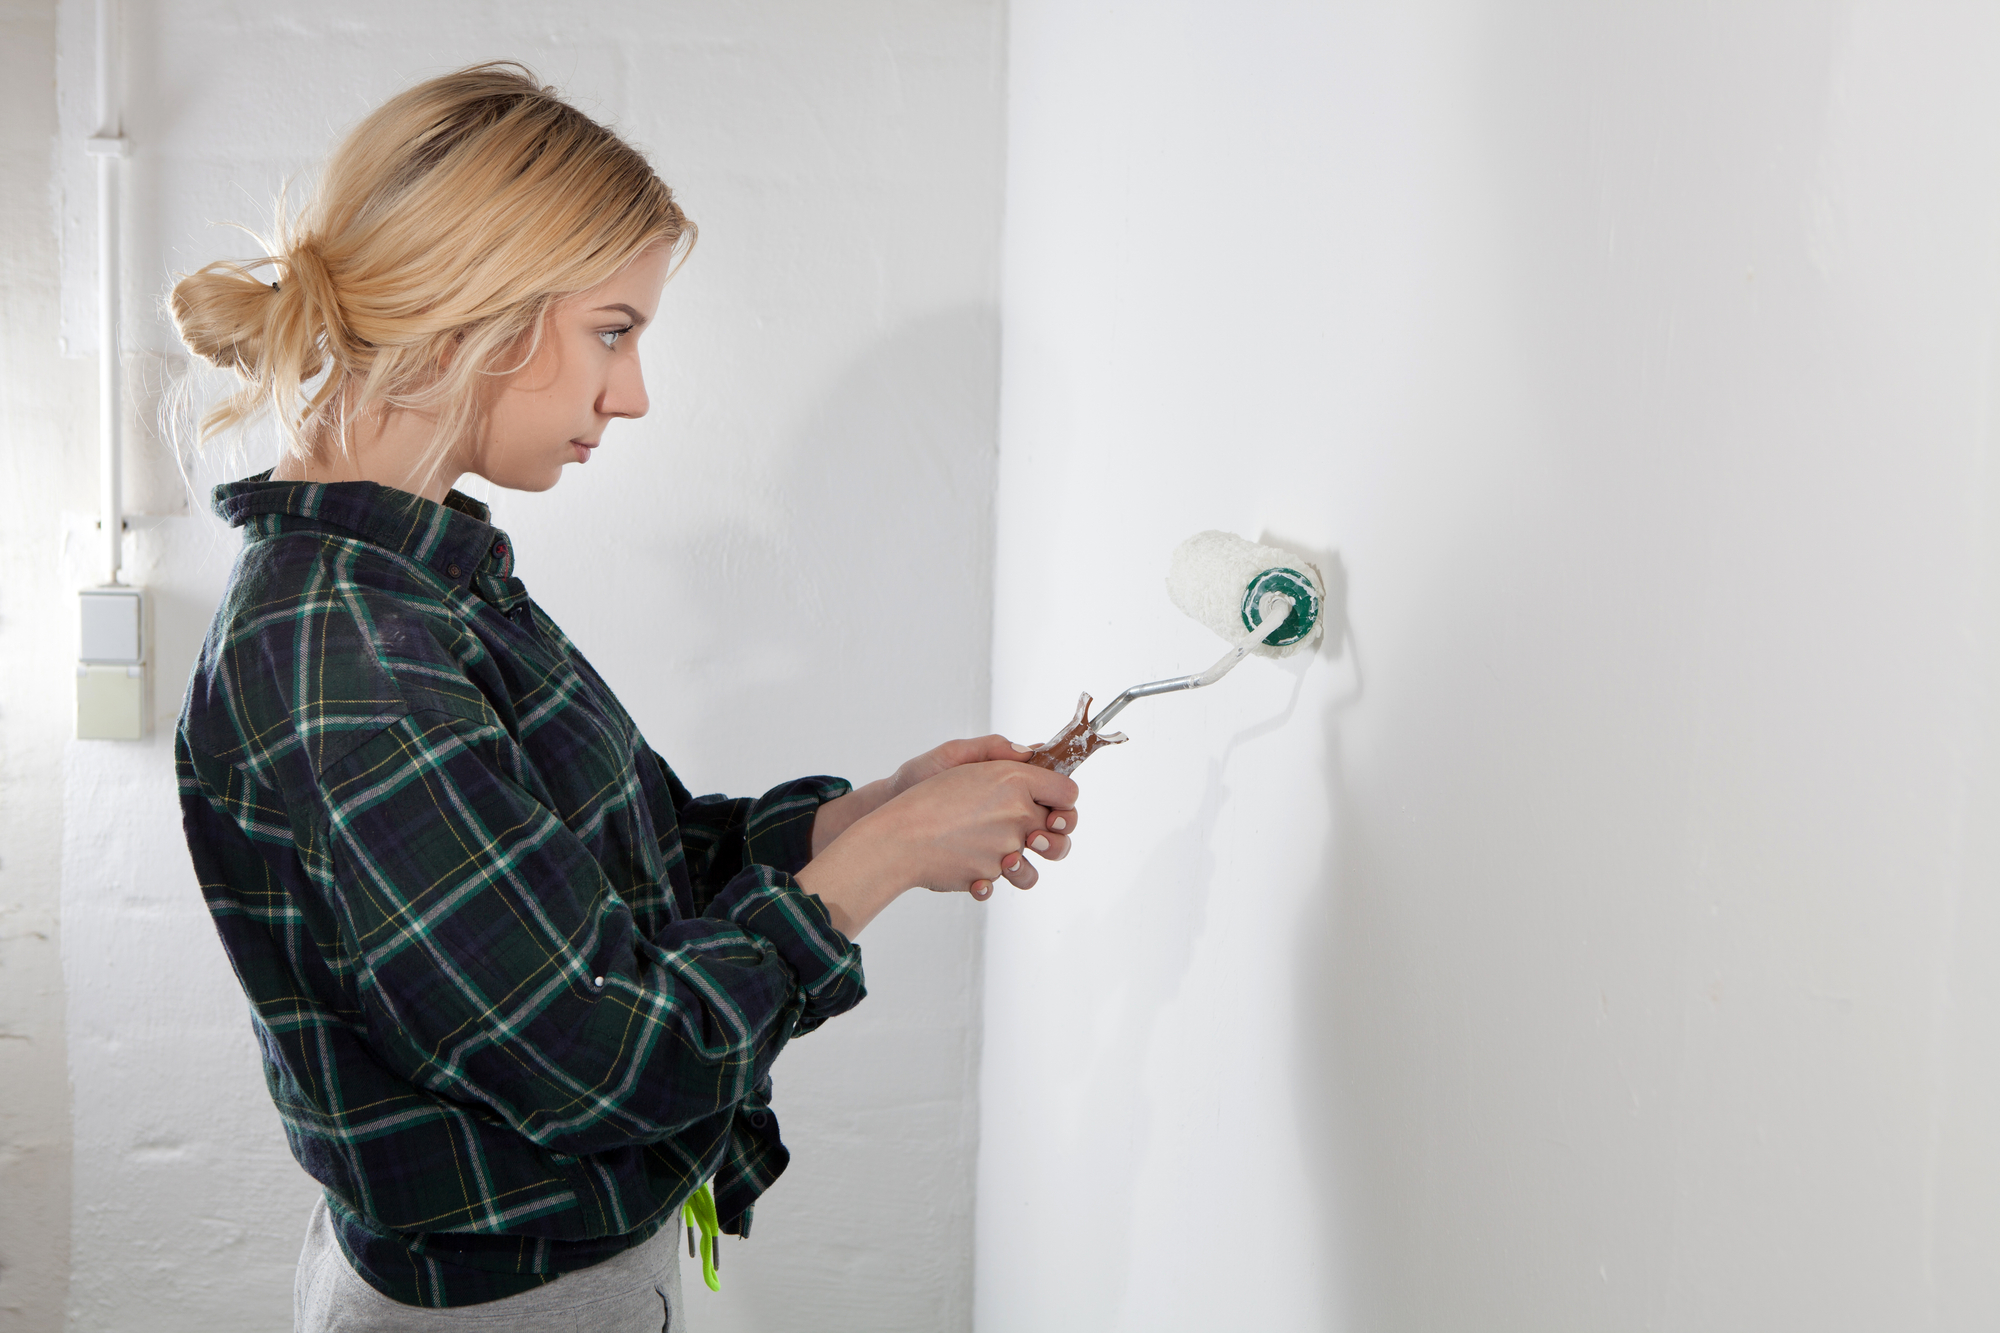
How to Fix a Bad Paint Job on a Wall
While it’s sometimes easier to prevent mishaps before they happen, chances are if you’re reading this you’ve already had an “uh-oh” in your painting project.
(We will get into how to avoid some more common painting problems in the future a little further down!)
Let’s run down the list of the mistakes most DIYers encounter so you know how to fix a bad paint job.
Drips and Drops
Cause: A roller or brush that has too much paint on it.
You’re working your way through your room, making great progress when you see that telltale streak rolling down the wall. We’re starting here because the good news is that if your paint hasn’t dried yet simply take a roller (that is not overly saturated) and blend it in.
If you have wet drips on your trim you can wipe these off with a wet paper towel as soon as they happen. (Pro tip: Always keep a damp cloth within arm’s reach when you’re painting.)
If the drops have dried, scrape them off the wall with a putty knife or the flat edge of a five-in-one tool. You’ll then need to lightly sand the area with 180-grit sandpaper and repaint the repaired section.
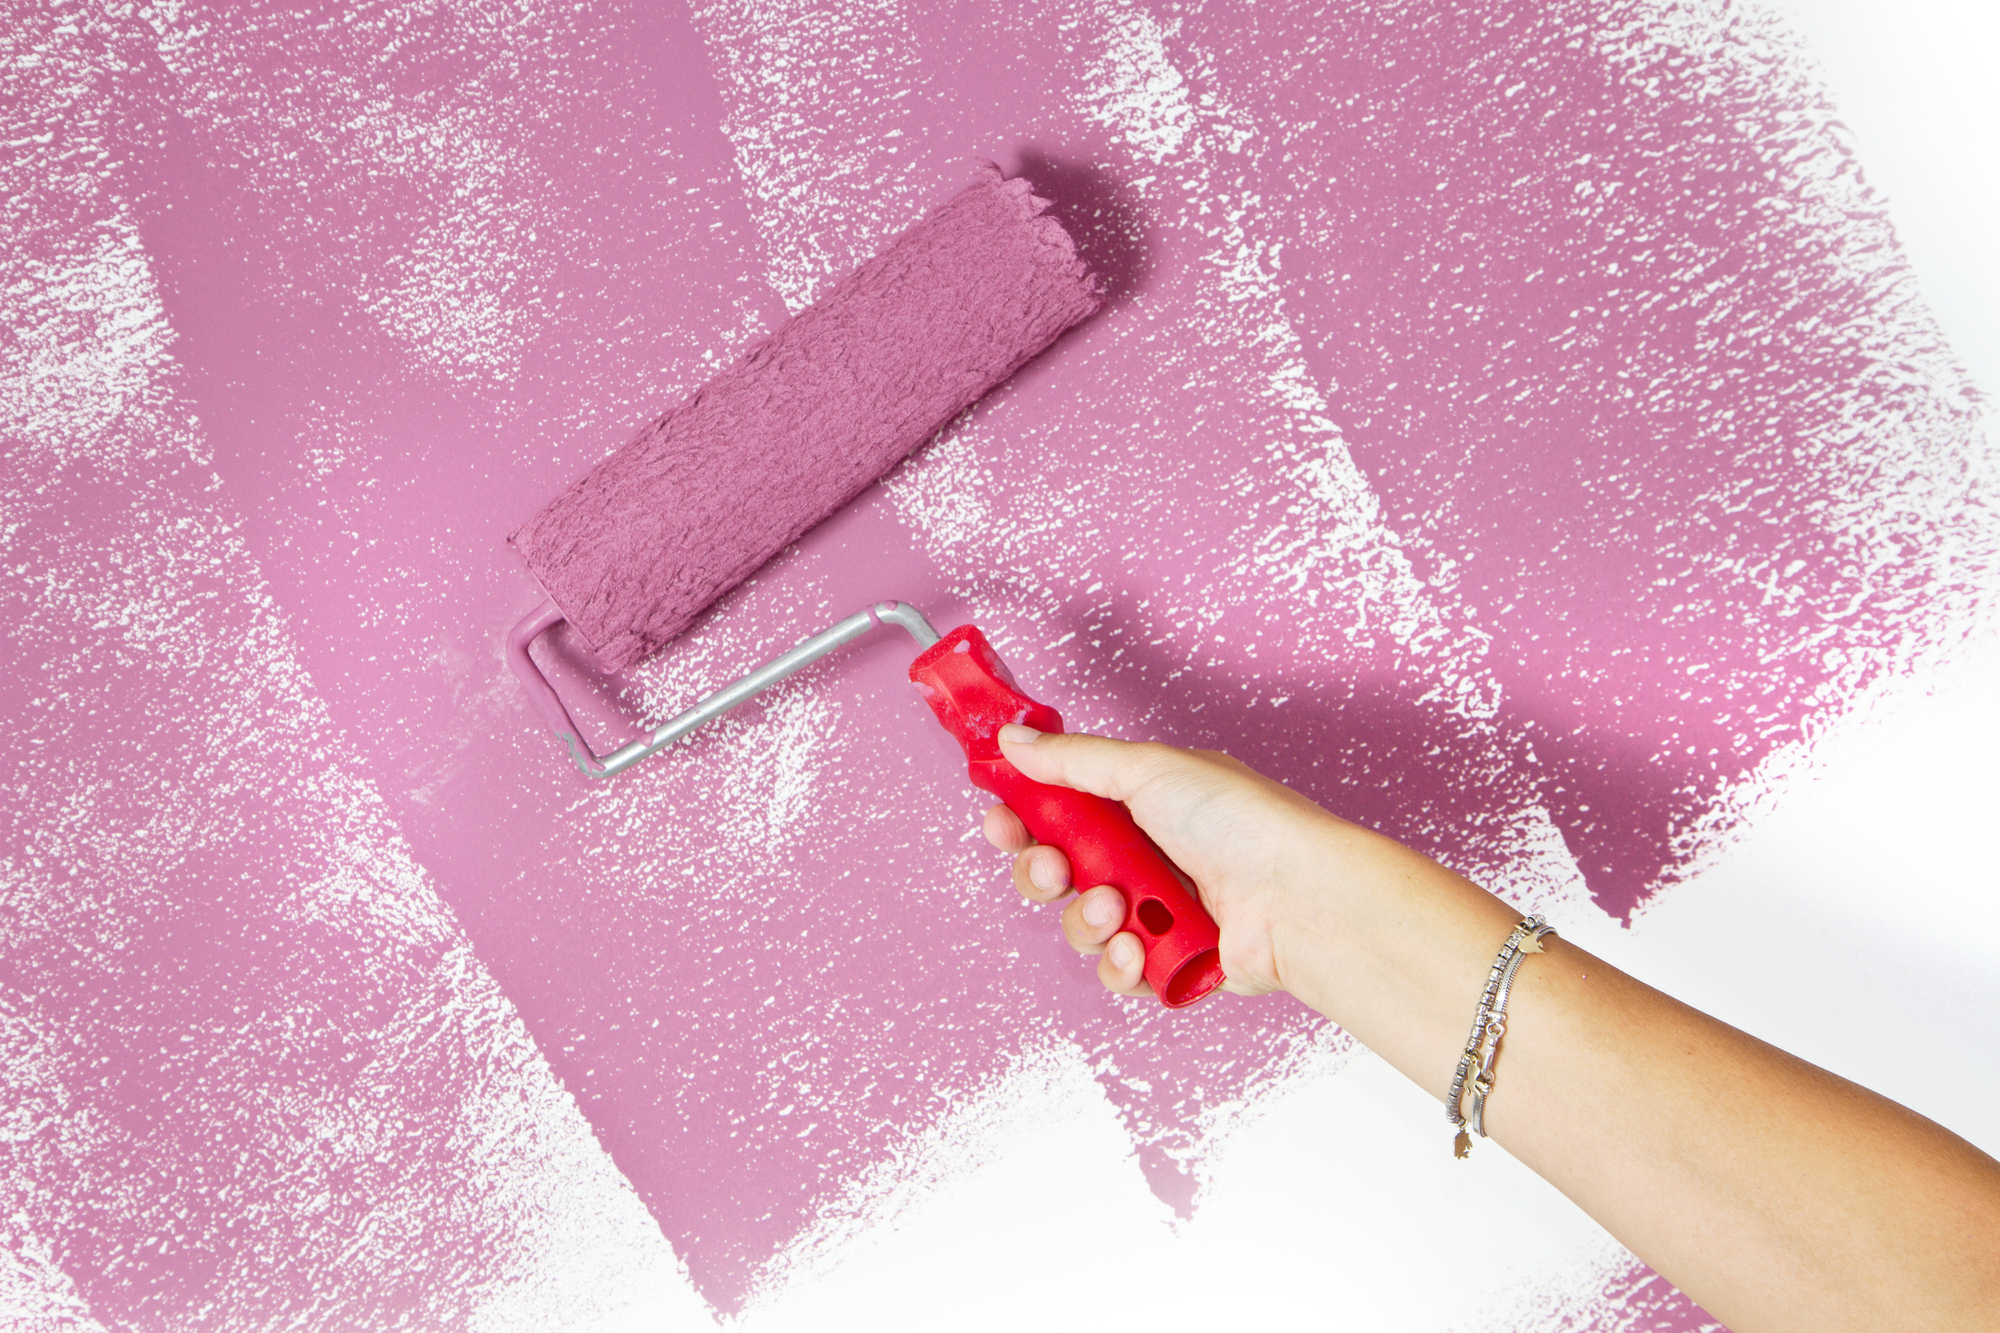
Uneven Coverage
Cause: Too few coats of paint, not enough paint on your brush, uneven pressure on your roller, or paint that hasn’t been stirred.
If you’ve put on a coat and the coverage is patchy, with shades of the previous color peeking through it needs another coat. Think of your first coat not as the minimum but as your “base coat,” especially if you are not priming the walls. Before applying the second coat allow the first one to dry so it will adhere and you can better see any imperfections.
One place where coverage tends to be uneven is where you’ve cut in, typically ceilings or molding. You’ll likely have a “border” where your roller meets your freehand work. If you can’t take the roller up to the ceiling or down to the baseboards, make sure you go back and use your brush to freehand a second coat.
Spots on the Ceiling
Cause: A lack of trim makes it hard to take your wall paint all the way up without an errant dab of paint.
If the spot is still wet, use a fresh brush with some window cleaner to wipe the paint off. If it’s dried, touch up the paint with some ceiling paint using a small brush or roller being careful to blend the edges to the rest of the ceiling.
Stuck Trim Tape and Peeling Paint
Cause: Cheap tape or tape that’s been on too long.
There are various schools of thought on painter’s tape. For do-it-yourselfers, it can provide a straight border to paint up to and some protection for your trim. However, it is not foolproof. Paint can bleed through and just because you apply it doesn’t mean you’ll get a straight edge. If your walls are textured you may not get a seal.
You should remove painter’s tape when the paint is fully cured to avoid pulling wet paint with it. Slow and steady wins the race here, as well as pulling at a 45-degree angle. If you run into a place where the paint is sticking to the tape you can always score the tape with a utility knife to separate it.
Paint on the Carpet
Cause: We probably don’t need to spell this out. That said, it’s important to be aware of your paint trays, cans, and trim pail and continually move them around as you move.
This fix will take a little bit of elbow grease. If you spilled water-based or latex paint and it’s still wet, begin by lifting the wet paint away from the carpet with the edge of a dull knife. (Do not try to rub the stain out with a towel as you’ll just smear the paint deeper and wider into the carpet.) Take a wet towel to blot out the remaining paint, using a clean area each time you blot.
If your spilled paint has dried, you’ll need to soften it to remove it. Apply a mix of hot water and a few drops of dish soap with an old toothbrush or other soft-bristled brush to dissolve the stain. Once it has softened use a dull knife to scrape the paint off of the carpet. Blot the stain with a wet paper towel until clean. Continue to brush your soapy water mix onto all of the sections, then blot the stain out with your white towel. Once the carpet is dry you can use a vacuum to remove any remaining paint particles.
If you spilled oil-based paint, don’t delay the clean-up. Like with water-based paint, you can use a dull knife or putty knife to lift as much of the excess wet paint up and out as possible. Again, prepare a mixture of mild dish detergent and water, this time with cold water. Apply it to the stain and blot it up with a white cloth. Do not rub the stain or you’ll only spread it out.
If this doesn’t work it’s time for a more aggressive carpet cleaner. You’ll need to find a cleaning solution that is safe for your type of rug. If you’re still not having any luck it may be time to call in a professional rug and carpet cleaner.
These sage tips on “How to Get Paint Out of Everything” from Bob Vila dig deeper into the fixes for all of the painting disasters if you have more questions.
Stop Spills Before They Start
While it can be tempting to take shortcuts it’s easier to take the time to prep, rather than correct. That said, accidents happen.
Some painting “oh nos” are easy to recover from. Others require timely and costly fixes and put the brakes on your project.
If you’re planning on painting your home yourself here are some tips to help maximize your success and minimize your mess.
- Slip plastic bags over door knobs to protect them. Cover your floors with builder’s paper and tape the edges to the bottom of your wall or trim. Remove your outlet covers and switch plates. Move your furniture to the center of the room and cover it in plastic.
- Score your painter’s tape with a box cutter so that you get a clean edge when you remove it later.
- When you mix paint make sure the stir stick goes all the way to the bottom of the container.
- If you’re painting the ceiling, paint that first to avoid drips on your freshly painted walls.
- Roll paint in a wide “W” rather than lines to spread paint out and get a more even distribution of paint. Then fill it in as you go.
- If you need to pause your project finish out that wall first. Wrap your brushes or roller covers in plastic wrap while they’re still wet to prevent them from drying out. Seal up your cans of paint.
- Have a box of easily-accessible supplies on standby. (See below.)
- Hire a pro rather than paint your own home. There we said it. We do this every day. We have the expertise and supplies to save you all of the prep, as well as the stress of fixing painting emergencies.
Your Fix-It Kit for Painting Day
Before you get started having these items on hand will make clean-up a lot easier. Always have a wet rag within reach and put the rest of these items together in a box so you’re not scrambling if you have an accident.
- Putty knife or 5-in-1 painter’s tool (which has its own putty knife)
- 180-grit sandpaper
- Small touch-up brush or mini roller
- Window cleaner
- Plastic wrap (to wrap wet rollers or brushes if you need to pause your project)
Hire a Memphis Painter Instead
One way to spare yourself that “we should have hired a painter moment” is to hire a residential painter from the start.
We are proud to serve homes and businesses in the greater Memphis area including Cordova, Germantown, Bartlett, Collierville, Arlington, and Lakeland.
We’d love to talk to you about your painting project and have the opportunity to help you transform your space into a place you can’t wait to come home to. To schedule your free estimate click here.
Here are some other posts you may find helpful


Looking for a painting pro?
If you have a painting project that needs a special touch feel free to reach out to us!
Our team of professional painting craftsmen helps people just like you turn dreams into reality every week. We look forward to speaking with you about your project soon!